A relining quote in Seattle is built from three answers: what the flue will serve, how far and by what route it climbs to the roof, and what the new liner is made of. Published figures spread widely because those answers change from house to house. This guide takes each one in turn, sets the numbers two publishers print next to our own grid, and explains why a camera has to travel the flue before anyone can name an amount for your address.
What Seattle's code expects of a flue liner
Seattle enforces the 2021 Seattle Residential Code, and its chimney chapter is brief on the subject. Section R1003.11 says a masonry chimney is to be lined in a way that suits the appliance connected to it. Three routes satisfy the section: clay flue tile made to ASTM C315, a listed lining system tested to UL 1777, or another approved material that stands up to corrosion and to heat as high as 1,800°F.
Two practical points follow. The liner is matched to the appliance, so a flue that was right for an open fireplace is not automatically right for an insert, a stove or a gas unit. And the city's mechanical code, in section 905.1, requires a fireplace insert to carry a UL 1482 listing and label and to be installed the way its maker directs. The installation manual of the unit you buy is therefore part of the specification, and we read it before sizing anything.
Three questions behind every relining number
The appliance. An open wood fireplace, a wood insert, a gas insert and a furnace each send different heat and different exhaust up the flue. Liner diameter and liner material follow from that.
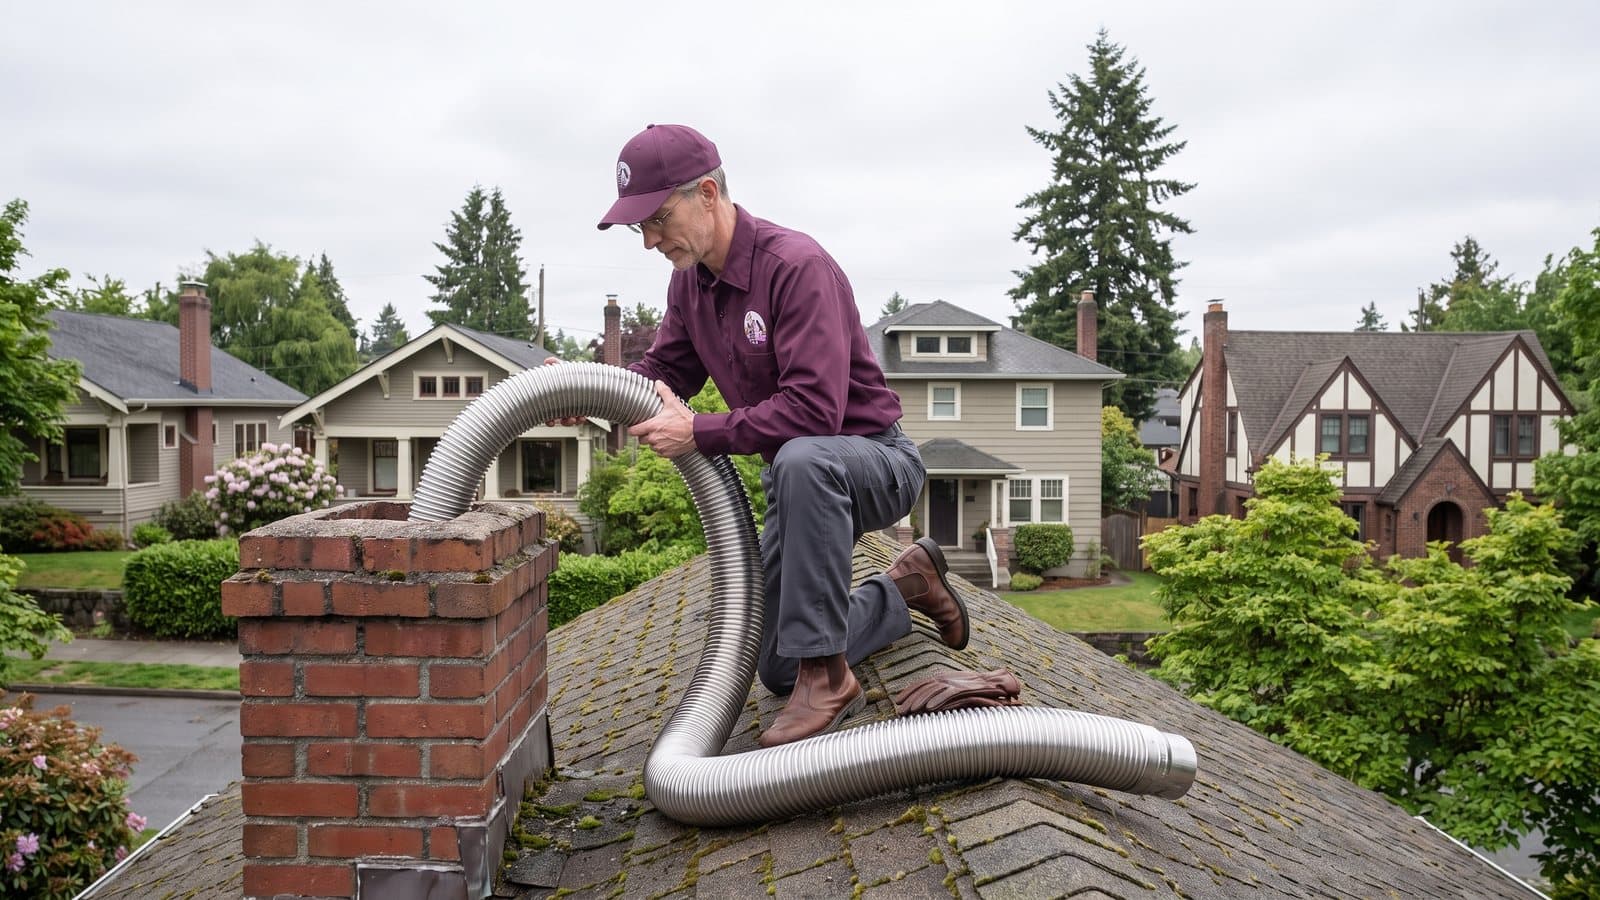
The run. A liner is bought by length and lowered in from the roof. Two stories of stack take more material than one, an offset calls for a flexible liner and extra labor, and a steep or high roof adds setup time. A stack that holds two flues may need two liners.
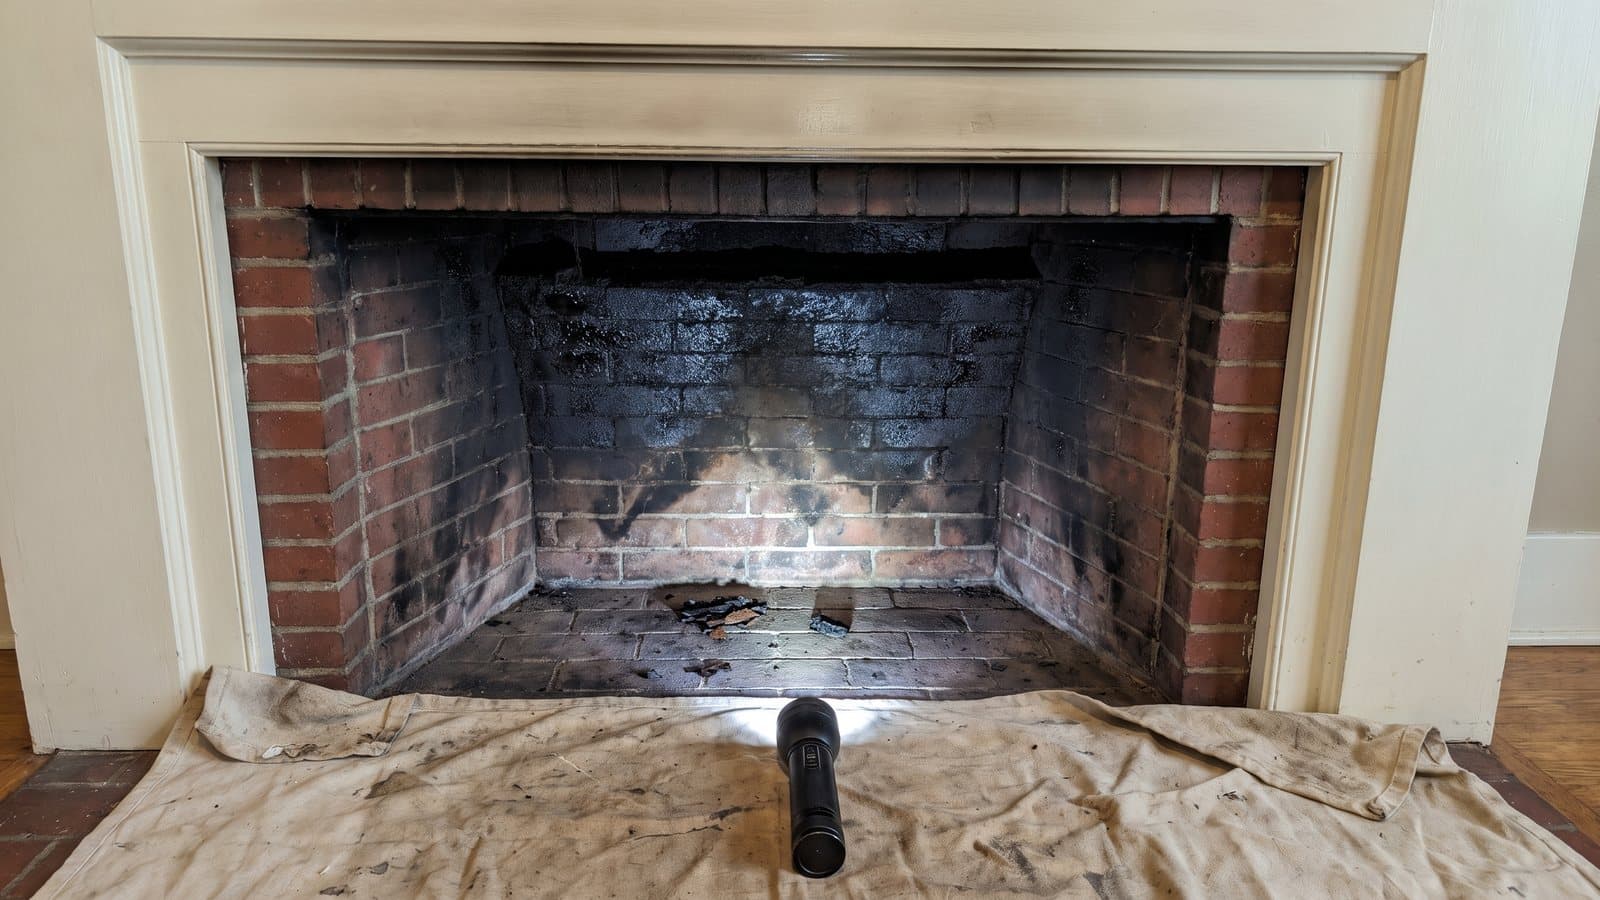
The condition found. Loose tile fragments, hard glazed creosote or a failed crown have to be dealt with before new metal goes in. That preparation appears as its own line on the quote so you can see what it is.
Liner types beside the figures in print
One Seattle company prints the two local lines in the table, and the national line comes from Fixr. They are other publishers' numbers, collected on October 4, 2026. Not our quote.
Our own relining starts at $1,900, and the top of our grid is $5,900. The lower part of that span is a short, straight flue under a roof that can be walked. The upper part is a tall stack, an offset, an insulated liner or a second flue inside the same chimney.
| Liner | Where it fits | Figure in print | Publisher |
|---|---|---|---|
| Stainless steel, rigid or flexible | Wood fireplaces, inserts, stoves; sized to the unit | $1,200 to $2,500 per flue, installed | The Mad Hatter Chimney Sweep (Seattle) |
| Cast-in-place | A worn flue that also needs stiffening | $2,000 to $4,000 per flue, installed | The Mad Hatter Chimney Sweep (Seattle) |
| Liner installation, national guide | Countrywide span, not a local one | $1,800 to $4,000 per flue | Fixr |
| Full-length stainless, our grid | Quoted after a camera scan | From $1,900, up to $5,900 | This site |
From Ballard to Northgate, the housing ages differ
Age is the best public clue to what a flue has lived through, and housing age shifts a great deal across a few miles of North Seattle. The 2020-2024 American Community Survey counts 36.3 percent of the housing units in ZIP area 98117, which lies to the north and west of Ballard's core, as built in 1939 or earlier. In 98103, the ZIP area where Green Lake, Phinney Ridge, Wallingford, Fremont and the southern blocks of Greenwood meet, the share is 34.7 percent. In 98125, which takes in Northgate, it drops to 7.6 percent and the median year built is 1974. Seattle as a whole stands at 22.8 percent.
Those are counts by decade for ZIP areas, not for neighborhoods, and no public source we found says what kind of chimney any of those homes has. What the counts do show is how likely it is that a flue near you has been in service for eighty years or more, through several changes of appliance.
Heating fuel is the second clue. The same survey finds fuel oil still heating 7.9 percent of homes in 98117, 5.8 percent in 98115 (the ZIP area spanning Ravenna, Wedgwood and Maple Leaf) and 4.7 percent in 98125. When an oil furnace is retired, the flue it vented through ends up serving a different appliance or none at all, and that is one of the moments the liner question comes up.
Earthquakes, old brick and the case for a camera
Seattle's Department of Construction and Inspections rates the chance of a damaging earthquake in the city at 86 percent over a 50-year horizon. In its guidance on masonry chimneys, FEMA identifies the kind most exposed: old unreinforced brick whose mortar has weakened. It adds that masonry chimneys built to modern code can suffer significant damage as well.
A flue can crack in a quake while the stack outside looks unmoved. For a chimney that has been damaged, FEMA advises against putting it back exactly as it was, and one of the options it describes is a metal flue run inside a lightly framed enclosure that rises from the top of the firebox. FEMA wrote that advisory after a California earthquake, so take it as general guidance on how chimneys behave and not as a Seattle study.
Permits for a reline: a question we put to SDCI
We do not print a blanket answer on permits for relining, because the city does not print one. What SDCI's permit guide does say is that most projects beyond its short exemption list need a permit, and fireplace, furnace, gas and mechanical work are all named in that sentence. Repointing a chimney is on the exempt list by name.
Timing matters when a permit applies. For a standard mechanical permit SDCI quotes roughly 9 weeks, counted from the application. Simple jobs, it says, may qualify for a permit issued subject to field inspection inside 24 hours. Either way the application is filed through the Seattle Services Portal. We check with SDCI for your address and your appliance before work starts, and the answer goes into the written quote.
First the scan, then the relining quote
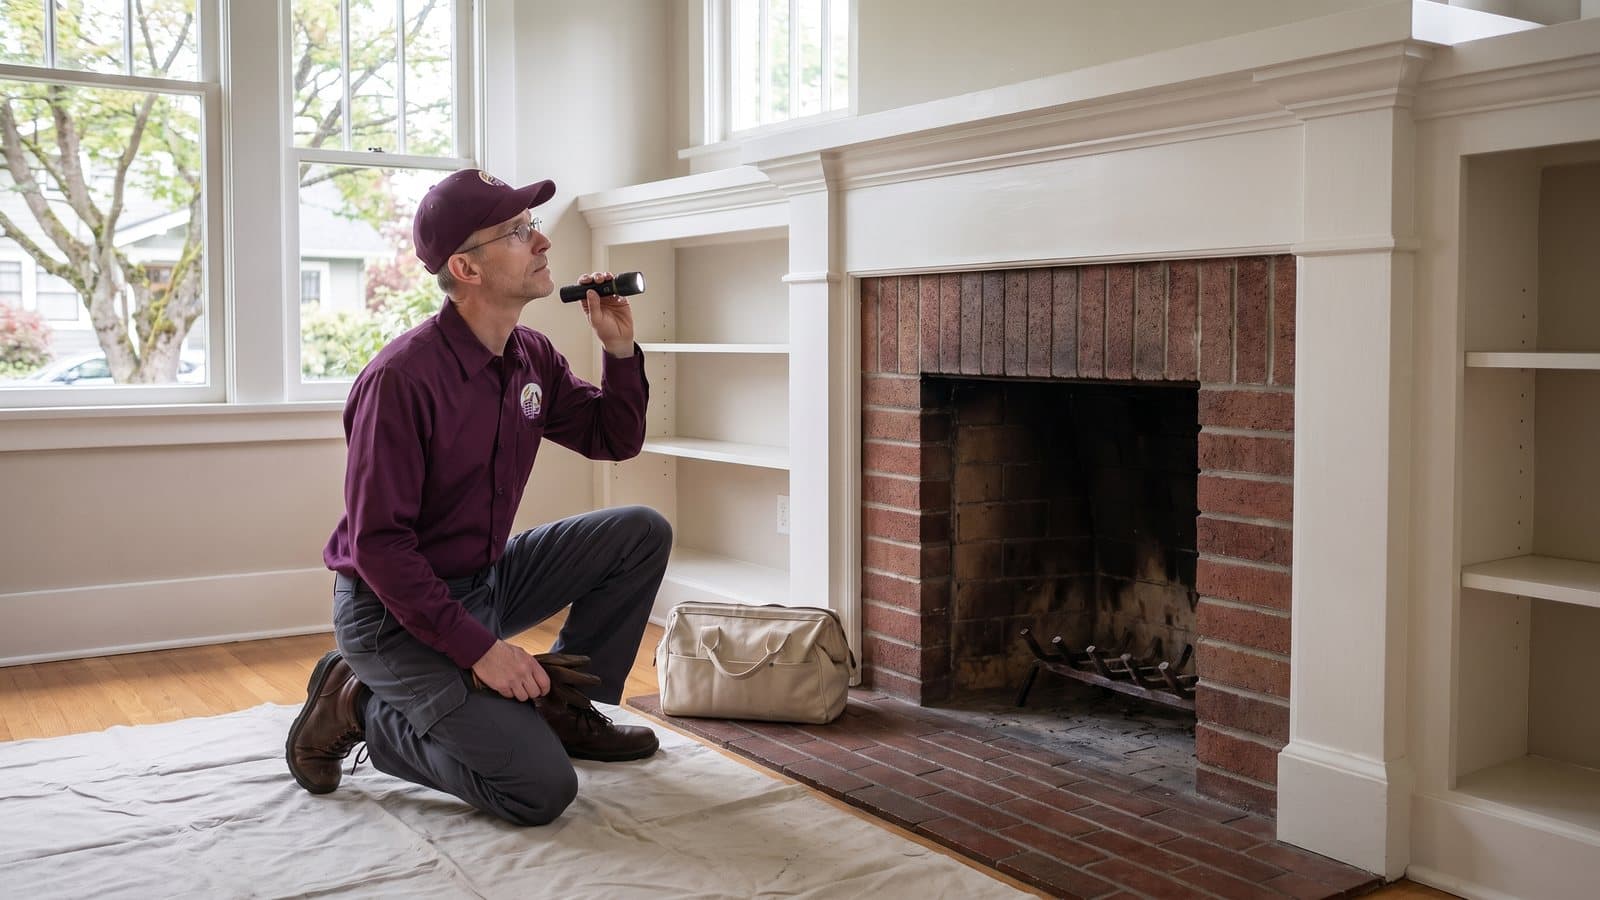
Nobody can size a liner from the hearth. The visit comes first: $99 plus tax per chimney, with the camera run through the flue when its condition calls for it. You receive the findings and a written quote. If you approve the relining, the $99 is deducted from that bill.
Frequently asked questions
Can one cracked clay tile be fixed without relining the entire flue?
Sometimes. If a short, reachable stretch of a straight flue has failed and the tiles around it are sound, replacing those tiles or resurfacing the joints can be enough. Once cracks or open joints repeat along the height, or the flue bends, a continuous liner is the repair that holds. The camera recording shows which of the two you have.
Does a gas insert need a liner of its own?
Seattle's mechanical code wants an insert listed, labeled and put in according to its manufacturer's instructions, and the residential code wants the lining to suit the appliance. In practice the manual of the unit names the vent or liner it must connect to. We size from that document and not from the old flue.
Why are the relining figures printed for Seattle so far apart?
They describe different jobs. The local stainless line in our table covers one flue and moves with its length and diameter. The cast-in-place line is another method. The national guide averages a whole country. Ours runs from $1,900 to $5,900 because it has to cover tall, offset and insulated installations as well as short straight ones.
Should the insert be chosen before the liner, or after?
Pick the appliance first. A liner is sized to the unit, so ordering the liner first risks paying for it twice. Have the flue scanned early all the same: the scan tells you if the chimney can take the insert you have in mind.
Is the inspection charged a second time if I go ahead with the relining?
No. Each chimney's visit is billed $99 plus tax, an amount that comes off the relining bill once you approve the quote. If you decide not to proceed, it has paid for the visit and for the findings, which stay with you.
Sources
- UpCodes: Seattle Residential Code, ch. 10 — accessed October 4, 2026
- SDCI: Seattle Mechanical Code, ch. 9 — accessed October 4, 2026
- SDCI: Residential Code edition in force — accessed October 4, 2026
- Census Reporter: ACS year-built tables — accessed October 4, 2026
- Census Reporter: ACS heating fuel table — accessed October 4, 2026
- SDCI: unreinforced masonry buildings — accessed October 4, 2026
- FEMA P-1024 RA1: masonry chimney repair — accessed October 4, 2026
- SDCI: Do You Need a Permit? — accessed October 4, 2026
- SDCI: mechanical permit timelines — accessed October 4, 2026
- The Mad Hatter Chimney Sweep: liner page — accessed October 4, 2026
- Fixr: chimney liner installation guide — accessed October 4, 2026
Related services